
Do I Need a Doula for Home Birth?
/If you are planning a home birth, you likely trust in your body’s ability to birth your baby and receive quality continuity of care from your midwife. So when someone suggests hiring a doula, your first thought might be: Do I really need one?
The short answer? No one truly NEEDS a doula, the same way you don’t “need” a birth tub, a TENS unit, or even the presence of your partner to be able to birth your baby.
But doulas make a profound impact at any birth, including home birth, even for seasoned moms. Every woman has everything she needs to give birth, but the presence of a doula can make the experience That. Much. Better.

What Is a Doula, Exactly?
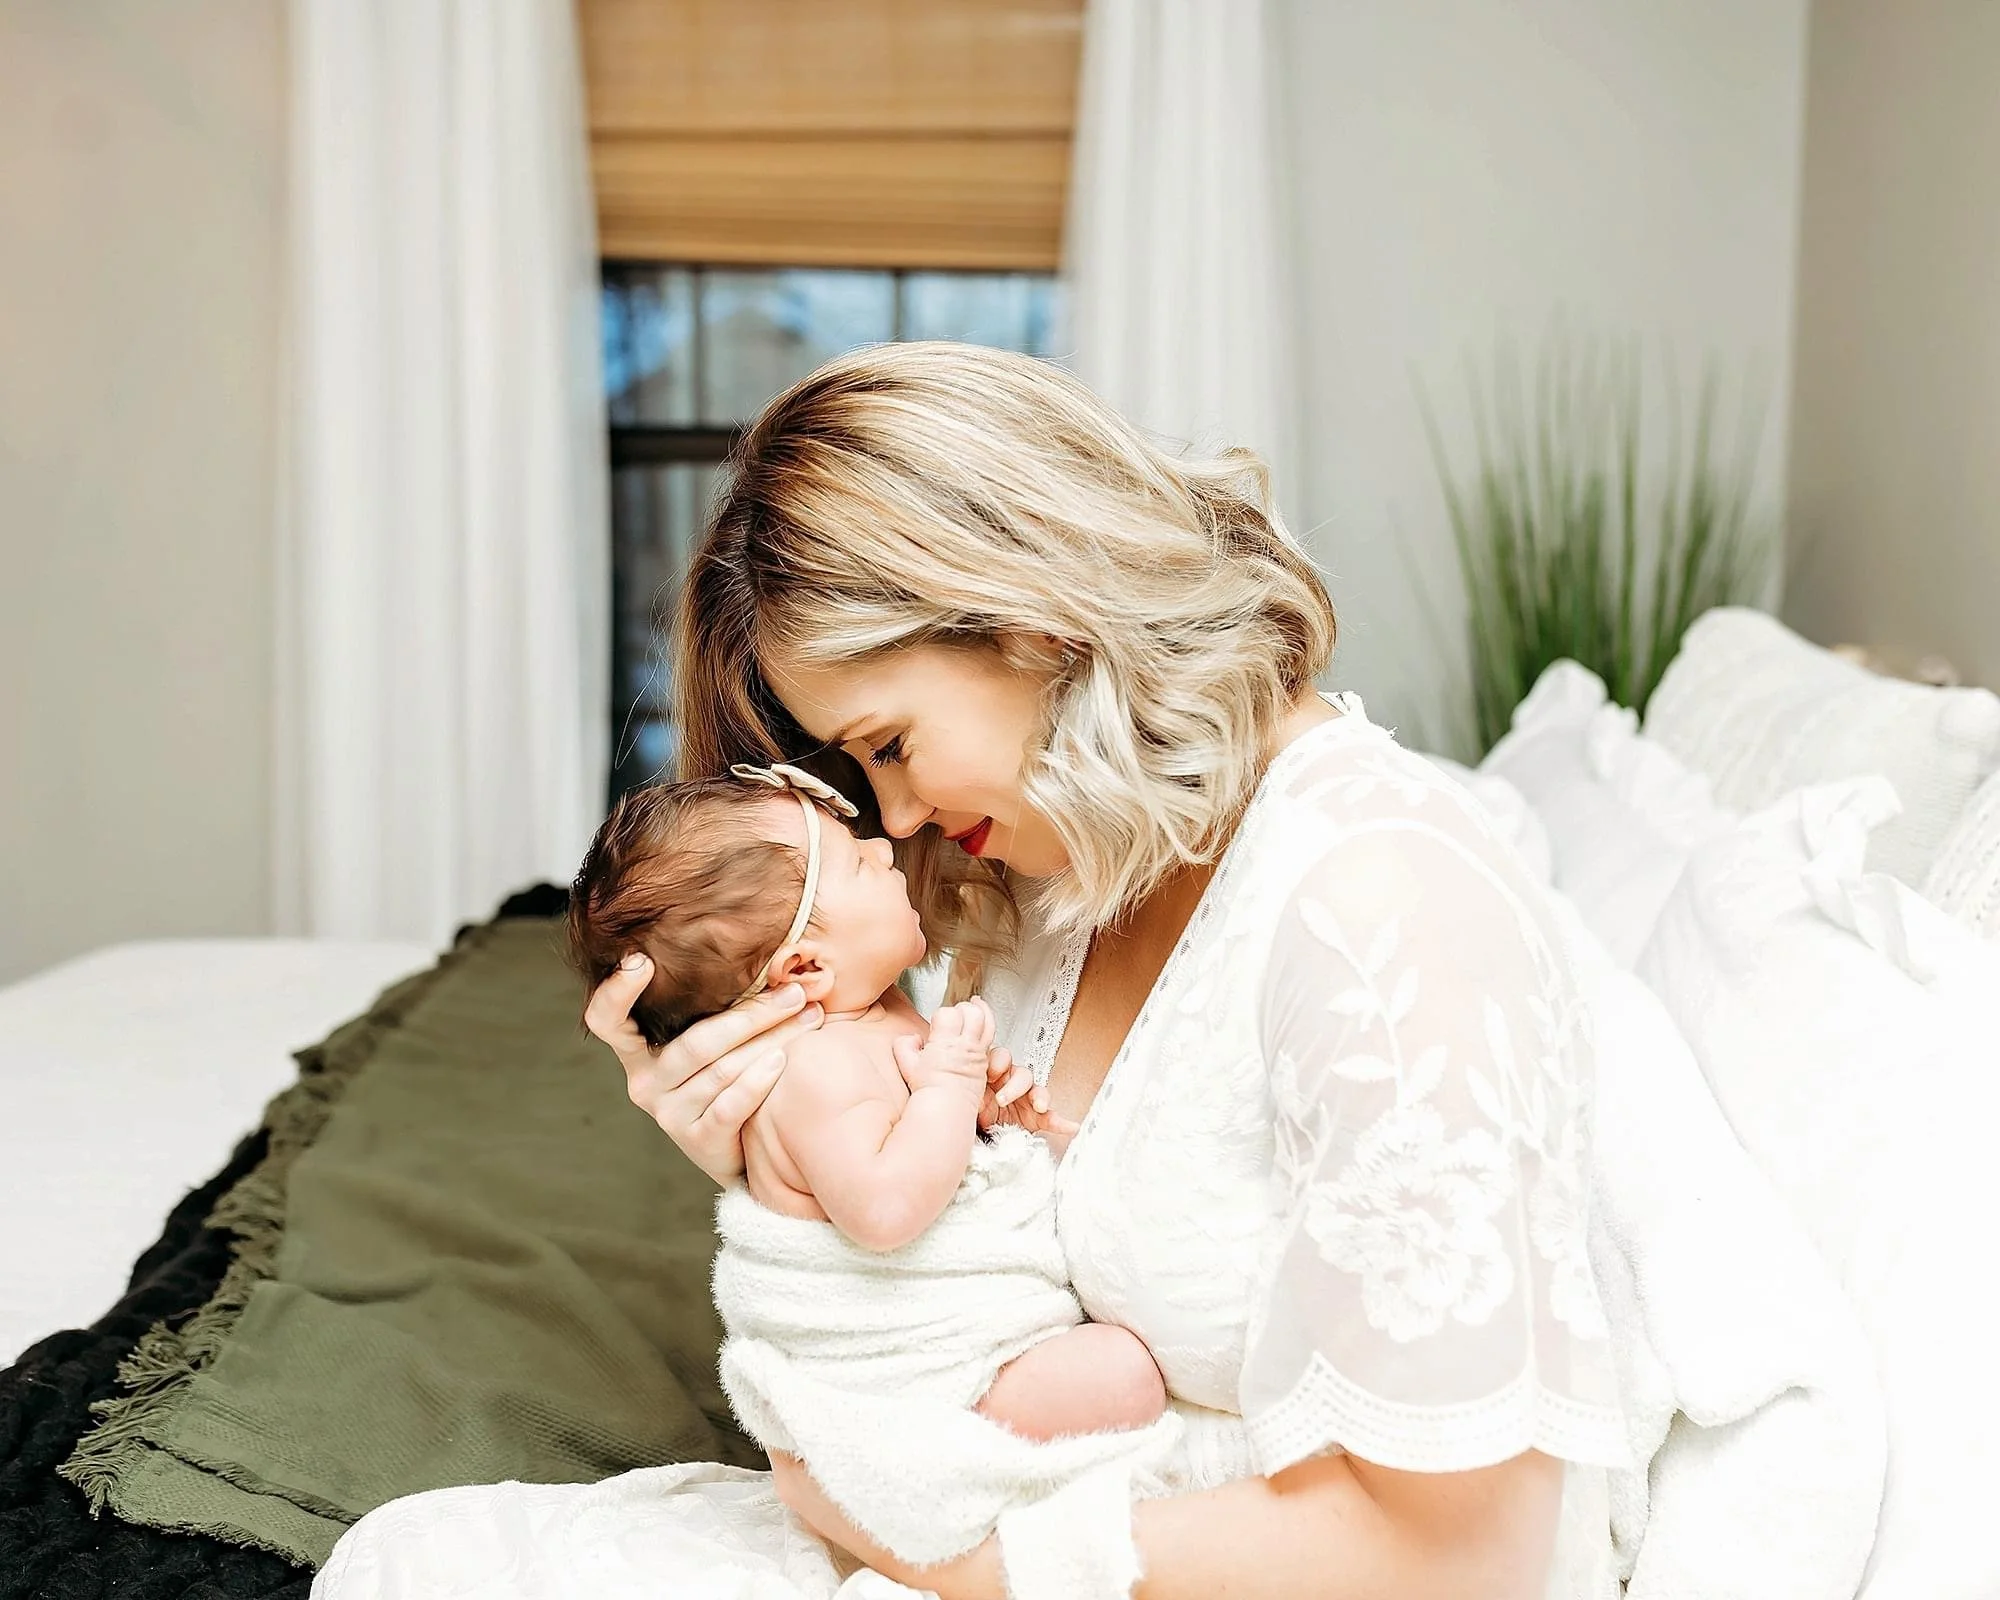
A doula is a trained professional who provides continuous emotional, physical, and informational support during pregnancy, labor, and the early postpartum period. Unlike a midwife, a doula doesn’t provide medical care or deliver the baby. Instead, their role is to support you—to help you feel calm, confident, and cared for through every wave of labor.
Isn't That What My Midwife Does?
Not quite. Midwives are incredible. They bring clinical expertise and often a deeply nurturing presence—but their primary responsibility is monitoring the health and safety of you and your baby. Depending on how your labor unfolds, your midwife may spend time charting, assessing your vitals, or focusing on specific clinical needs. They likely won’t be with you every minute of your labor.
A doula, on the other hand, is there only for you—rubbing your back, reminding you to drink water, breathing with you, holding your hand, helping your partner support you better. Their whole focus is helping you stay grounded and supported.
Why Consider a Doula for a Home Birth?
Here are some specific reasons why families planning a home birth often choose to hire a doula:
1. Uninterrupted Support From the Start
Your doula can join you as soon as labor starts intensifying—often even before your midwife arrives. That early support can be especially comforting as you settle into your labor rhythm at home.
2. Hands-On Comfort Measures
From hip squeezes and counter pressure to warm compresses and position changes, doulas are experts in comfort techniques that ease intensity and encourage progress.
3. Support for Your Partner
Doulas don’t replace partners—they empower them. A doula can offer suggestions, reassurance, and breaks so your partner can stay emotionally present without burning out.
4. Emotional Reassurance
Even in a familiar setting, labor can bring moments of fear or doubt. A doula is trained to help you navigate those moments with grounding, encouragement, and presence.
5. Continuity in Case of Transfer
If your home birth plan shifts and you transfer to a hospital, your midwife may or may not accompany you. A doula often will, continuing their role as your consistent support person through the entire experience.
What If I Already Have a Supportive Partner?
That’s wonderful! Doulas don’t replace loved ones—they enhance their ability to support you. Many partners share afterward how grateful they were for the doula's guidance: where to press, how to speak affirming words, when to rest or eat. Think of your doula as a partner for both of you.
Choosing the Right Doula for Your Home Birth
If you're planning a home birth in Cincinnati, it's important to choose a doula in the area who is familiar with out-of-hospital birth settings. Look for someone who:
Respects and understands midwifery care
Supports physiologic birth without unnecessary interventions
Is comfortable in a home environment (and can go with the flow if birth happens in the tub, on the floor, or anywhere else!)
Communicates well with your midwife
Is someone you feel comfortable with
Not sure where to start? Ask us at the Cincinnati Birth Center for our recommendations!
So, Do You Need a Doula?
You may not need a doula the way you need your midwife—but having one might be one of the best decisions you make for your birth. Think of it like this: home birth is already about creating the most supportive, empowering environment possible. A doula helps deepen that experience by offering comfort, connection, and care tailored just to you.
In the end, whether or not you hire a doula is a personal choice—but it’s one that most home birthing families never regret.